The Ribbon
The Ribbon is Scriblit’s default control bar, and it is the same on a computer and on a phone. Tabs for File, Write, Submission, and View group every tool by what you are doing rather than hiding them in menus.
The tab row
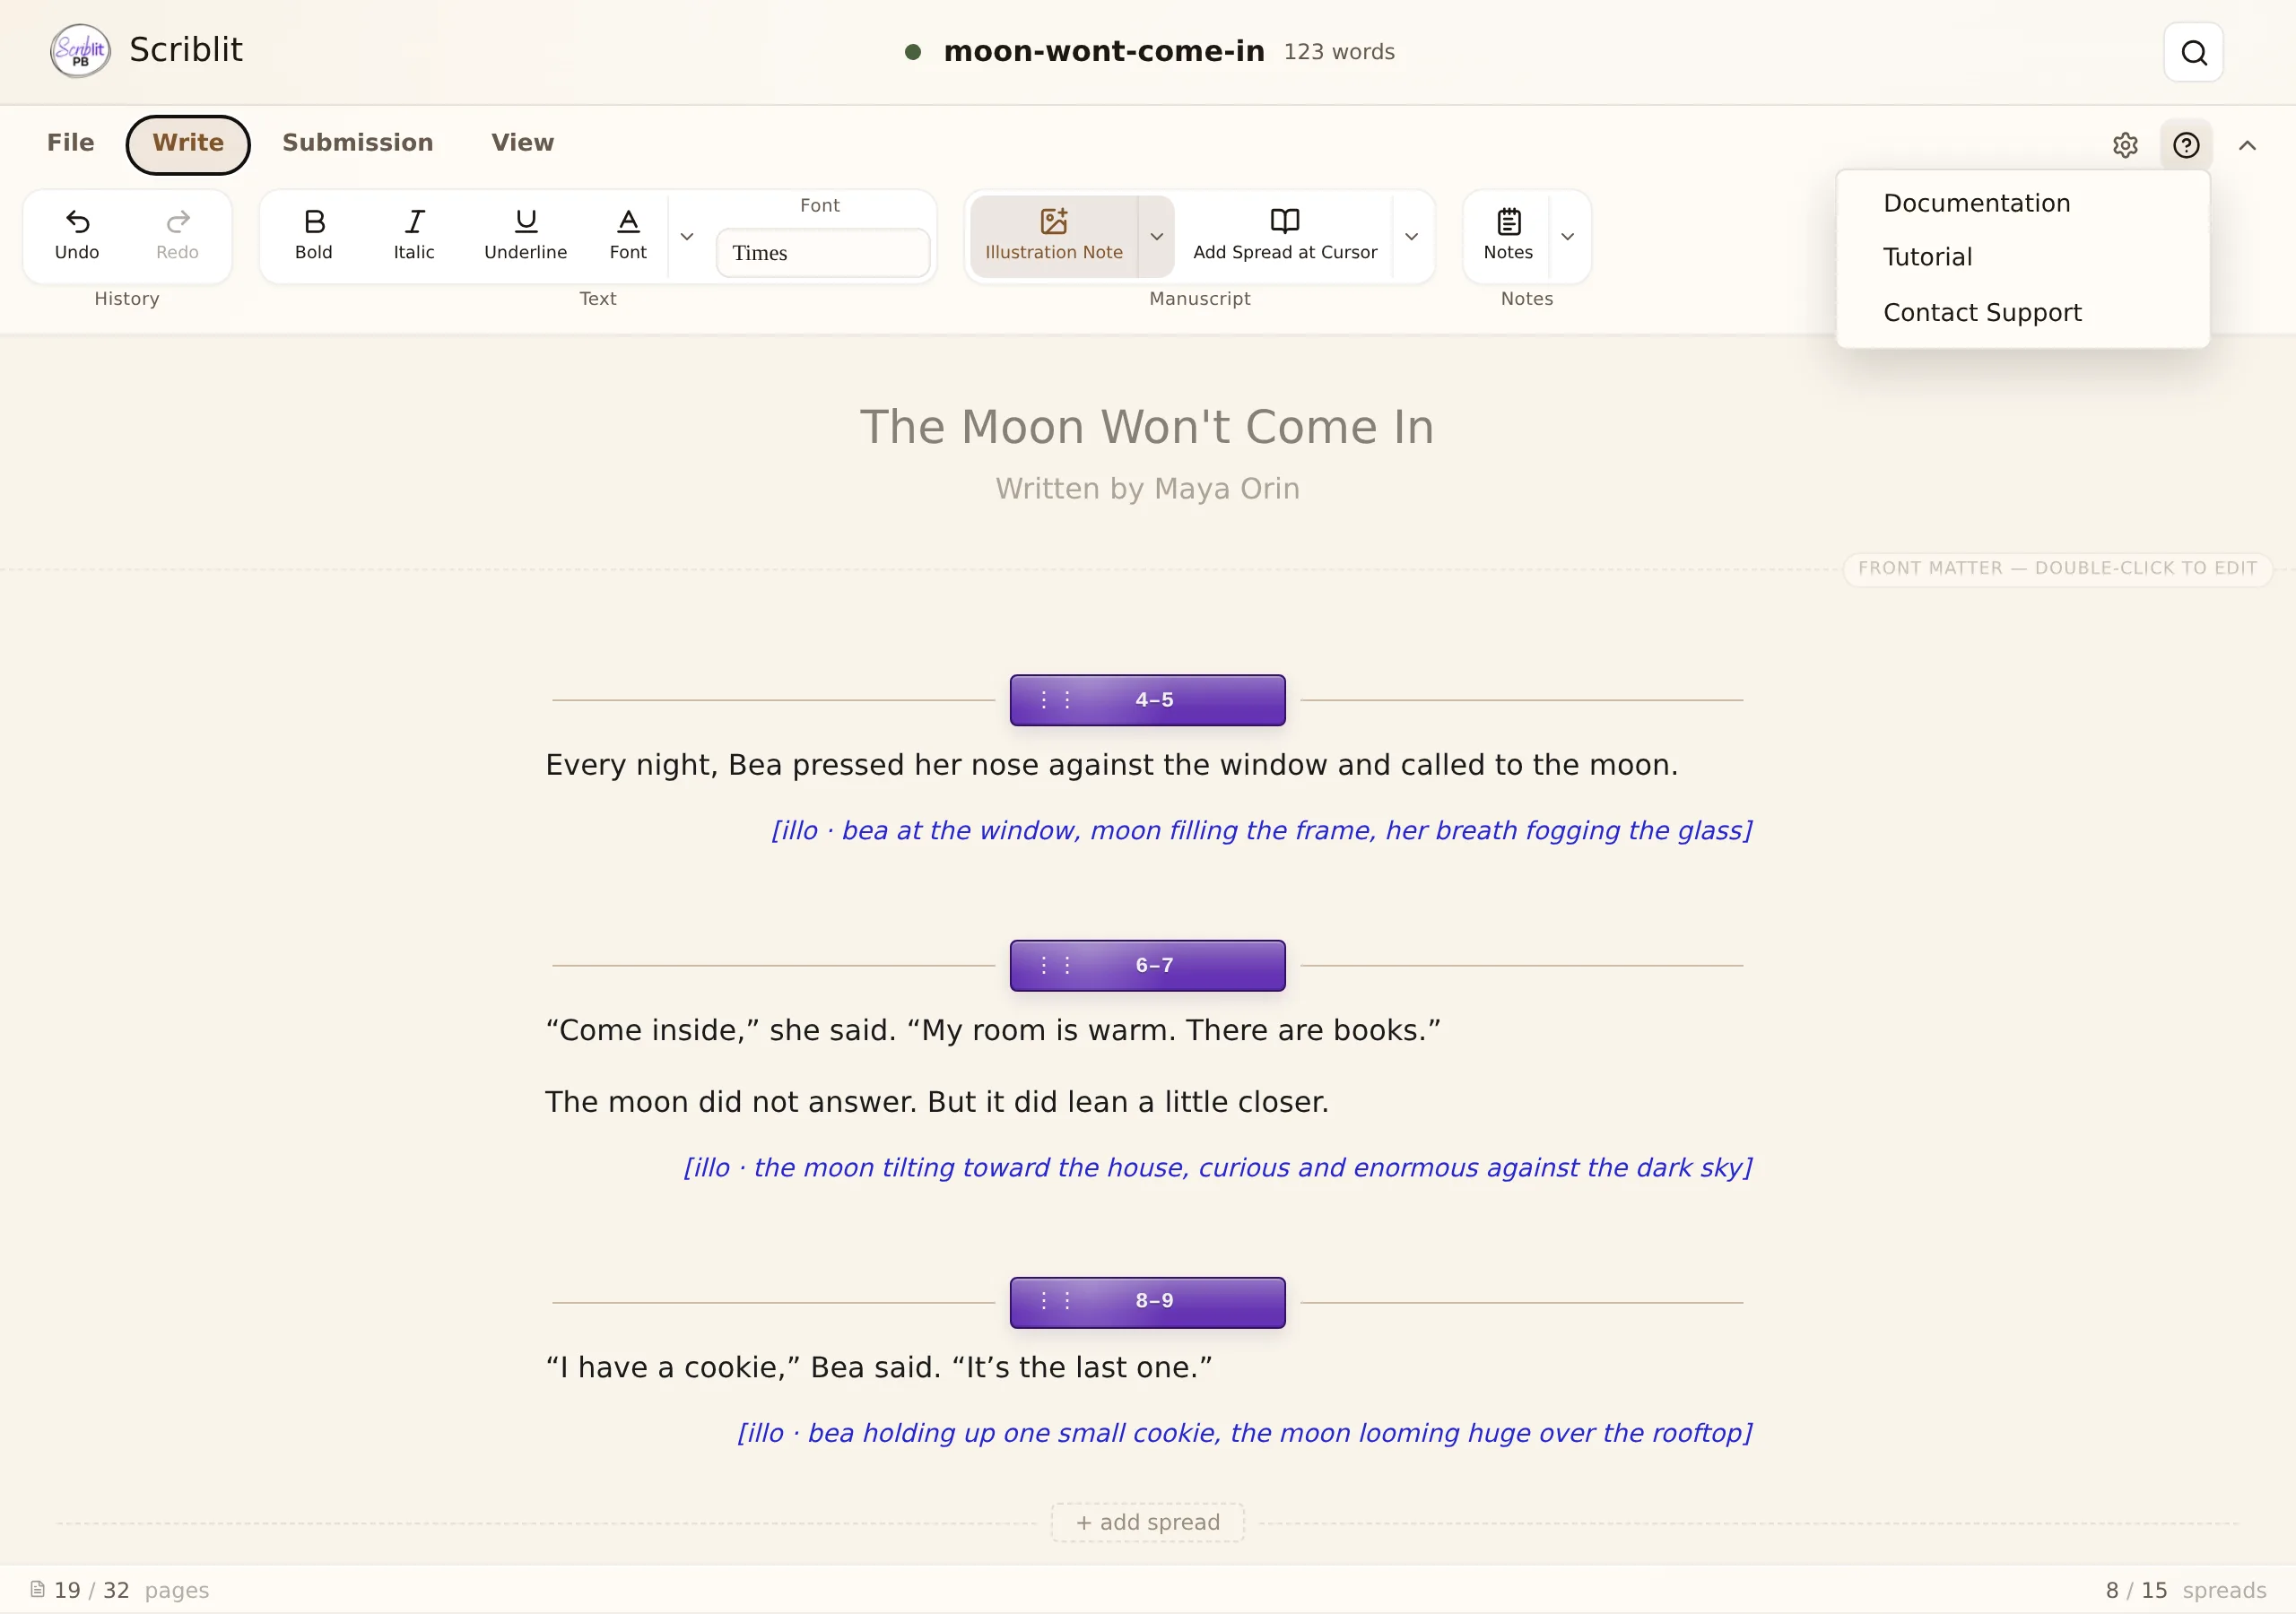
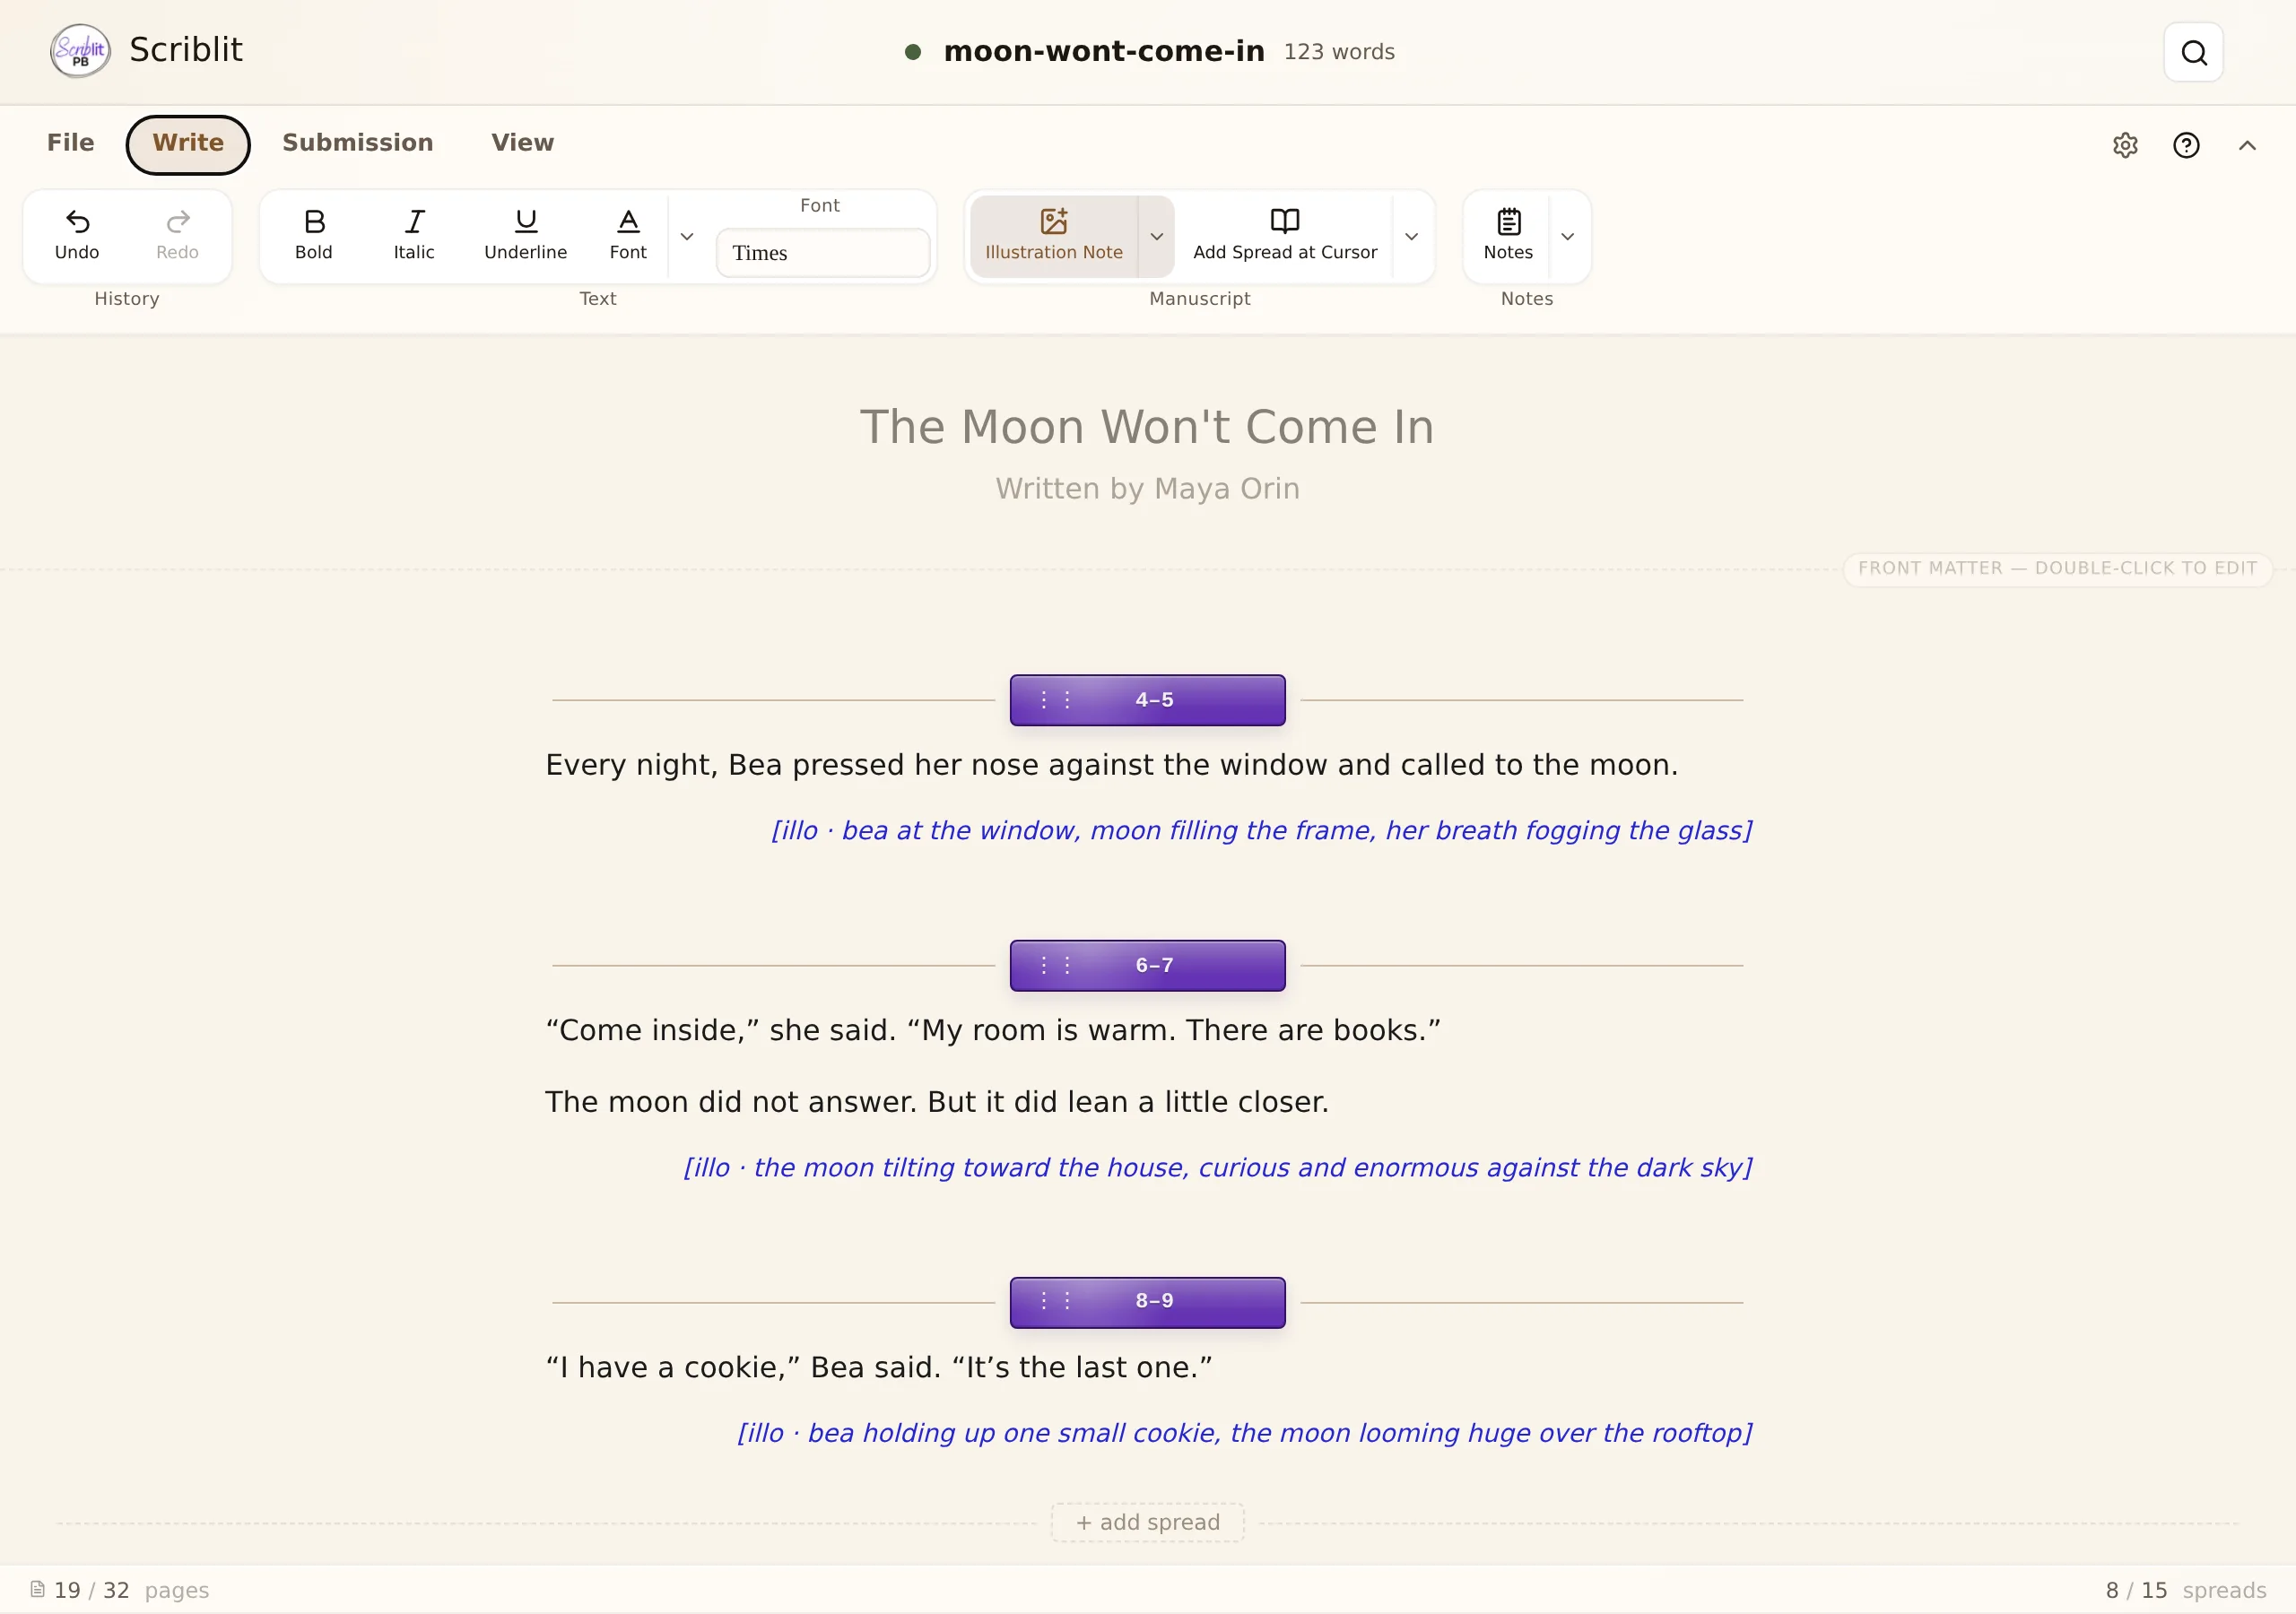
The top of the editor is a ribbon with tabs for File, Write, Submission, and View. Each tab shows grouped tools beneath it. Your live word count sits beside the document title in the bar above. On the right of the tab row sit a Preferences gear, a Help menu (Documentation, Tutorial, Contact Support), and a chevron that collapses the ribbon. The formatting icon bar does not appear in Ribbon mode; those actions live on the tabs instead.
Collapsing the ribbon. The chevron at the far right of the tab row hides the command groups and leaves just the tabs, giving the manuscript more of the window. Clicking any tab while the ribbon is collapsed brings the groups back on that tab, and clicking the tab you are already on collapses them again. The choice is remembered on this device.
The ribbon reflows for narrow widths and never switches to action sheets, so a phone in Ribbon mode keeps the same tabs a laptop shows. For the narrow-window behaviour of the other control style, see Compact on a Small Screen.
File
- Document — Open, Recent Documents, Rename, Close.
- Keep — Save, Save As, Import.
- Send — Design (opens Submission Design) and Export (opens the Export dialog).

Write
- History — Undo, Redo.
- Text — Bold, Italic, Underline, plus a Font split button whose face applies your last-picked text color and whose chevron holds Strikethrough, manuscript text size (Small / Standard / Large), and the full text-color picker. The manuscript Font picker (the typeface for your prose) also lives in this group.
- Manuscript — an Illustration Note split button (its chevron picks the on-screen note color) and an Add Spread at Cursor split button (its chevron inserts a whole spread scaffold instead of a single divider). Divider color and justification live on the View tab.
- Notes — the Notes split button: its face opens or closes the floating notes overlay, and its chevron shows or hides the colored note markers in the margin gutter. See Author Notes.

Submission
This tab is where you shape and send the manuscript you submit to agents and editors.
- Content — Title Page, Query Letter, Author Info, and Backmatter buttons, each opening the relevant editor or dialog.
- Design and Export — text actions next to the Content group. Design opens Submission Design; Export opens the Export dialog.
- A submission-hints strip below the buttons flags things worth fixing before you send — a missing title or contact block, for example — with a one-click fix where one exists.
See Saving & Exporting for what Export does, and Front Matter, Author Info & Backmatter and Title Page for the Content editors.

View
- Writing — a Focus Mode split button (chevron picks Story text only vs. Story + art notes) and Word Count Warning.
- Typewriter — a Typewriter Mode split button whose chevron sets the writing line (High, Middle, or Low — where the cursor sits while you type), a Typewriter Font split button, and Typing Sounds with a volume slider in its chevron. Typewriter Font, Typing Sounds, and the writing-line choices stay dimmed until Typewriter Mode is on.
- Page — a Paper shade select: Cream, Sand, Wheat, or White.
- Spreads — a divider color select (Purple, Ink, Sienna, or Clear) and a justification select (Left, Center, or Right) that sets where the spread badge sits on screen. Exports keep their own label position, set separately — see Preferences.

Prefer something lighter?
Preferences → Editor → Control style switches the ribbon for Compact, a three-anchor control bar with a formatting icon bar beneath it. The avatar account menu, saving behaviour, and keyboard shortcuts are the same either way — see The Ribbon & Compact.