Writing in Scriblit
Draft the way you always have: type, select, format. The difference is that Scriblit understands the shape of a picture book. Spreads, word counts, and art notes all take center stage.
Spreads
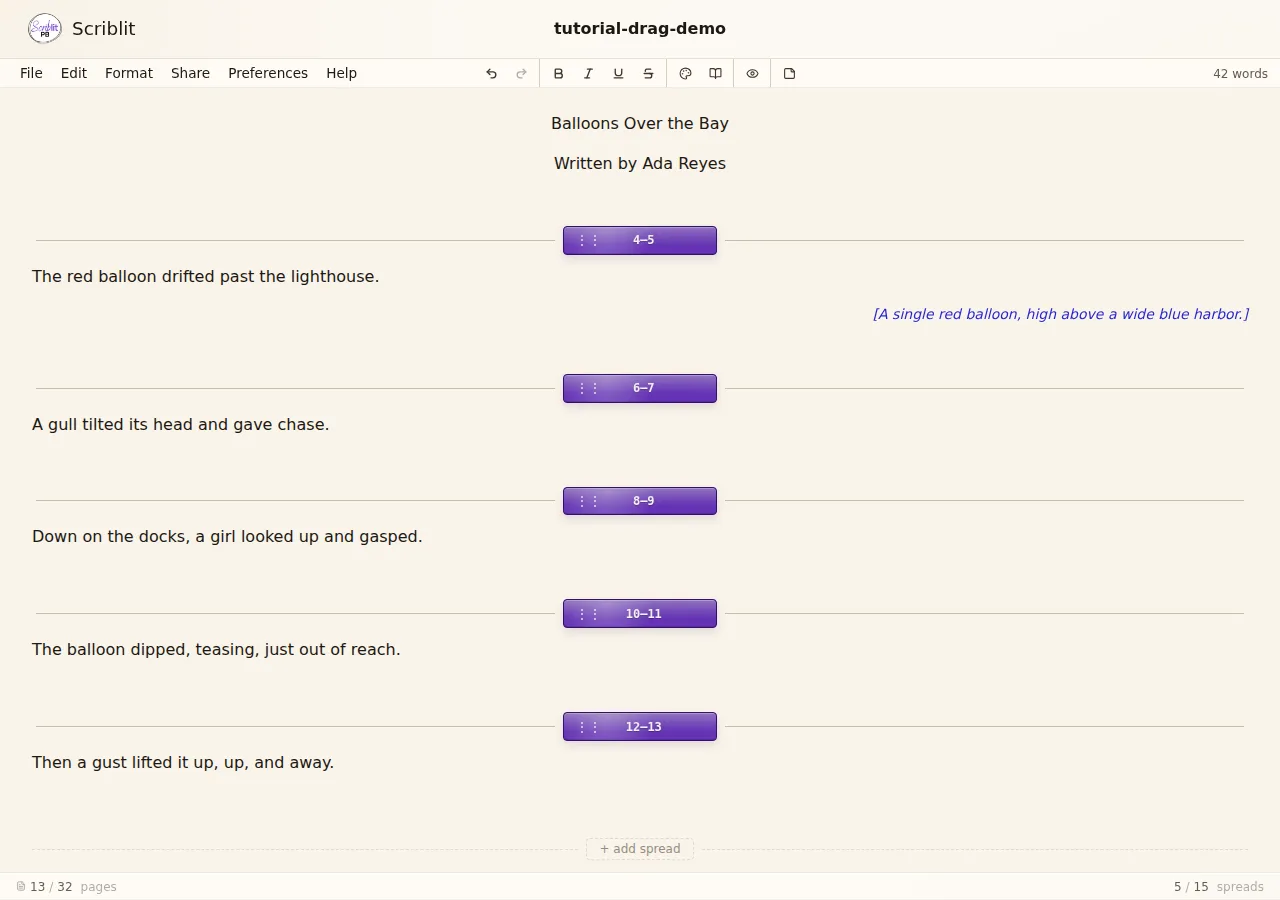
A spread is the pair of facing pages a reader sees when a picture book lies open. In Scriblit, you divide your manuscript into spreads with spread dividers; horizontal rules labeled with the page range they represent, like [4–5] or [6–7].
- Insert a spread divider at the cursor from the Write tab (Add Spread at Cursor), or with Ctrl+Shift+Enter (⌘+Shift+Return on Mac). In Compact, the same command is on the icon bar.
- Page-range labels are computed automatically from your first content page and total pages settings. Scriblit renumbers them for you as you add, move, or delete spreads.
- The status bar shows how many spreads and pages you have used, and how many you have left, and warns you when the manuscript runs over.
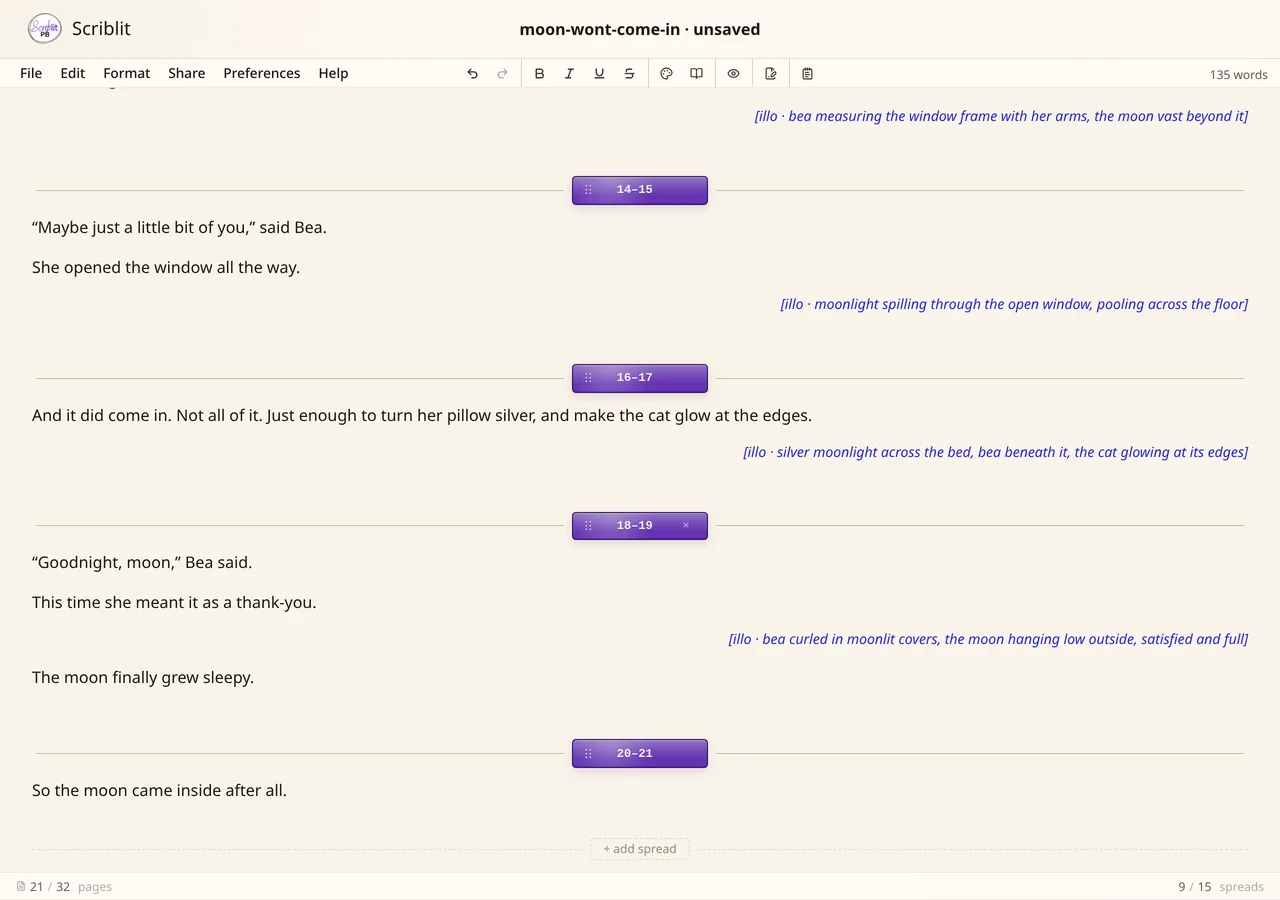
You can also move a spread divider after the fact. Drag a divider by its page-range label and drop it where you want the spread to end. The labels renumber as it moves.
New to spreads, page counts, or self-ended books? See Picture Book Basics for the publishing conventions behind these numbers.
Illustration notes
An illustration note (also called an art note or “illo note”) is a brief suggestion to the illustrator, used only when the visual carries meaning the text doesn’t. Scriblit styles illustration notes distinctly and brackets them on export, so agents and editors can immediately tell story text from art direction.
- Toggle the current paragraph into an illustration note from the Write tab (Illustration Note), or with Ctrl+Shift+I. The chevron next to the button sets the on-screen note color.
- Words inside illustration notes are excluded from your manuscript word count and reported separately.
Author notes
Author notes are private notes for yourself — reminders, questions, alternate lines — anchored to a passage or paragraph. They never appear in your manuscript text and are saved with your .spb file. Select text (or place the cursor in a paragraph) and choose Add Note from the selection menu; a colored marker appears in the margin, and the notes themselves live in a floating Notes overlay you can move, pin, and pop out into its own window.
See Author Notes for the full walkthrough, including the Notes split button on the Write tab and how to show or hide the margin markers.
Query letter
In addition to author notes for yourself, Scriblit also holds a query letter—the query or submission letter you send alongside your manuscript. Open the overlay from the Submission tab (Query Letter), or see Query Letter for how to write, store, and export it.
Formatting
Bold (Ctrl+B), italic (Ctrl+I), underline (Ctrl+U), and strikethrough are available from the Write tab. Open the Font split button for strikethrough, text size, and color. Picture book manuscripts are intentionally plain, Scriblit keeps the options minimal so your export always looks professional.
Focus Mode
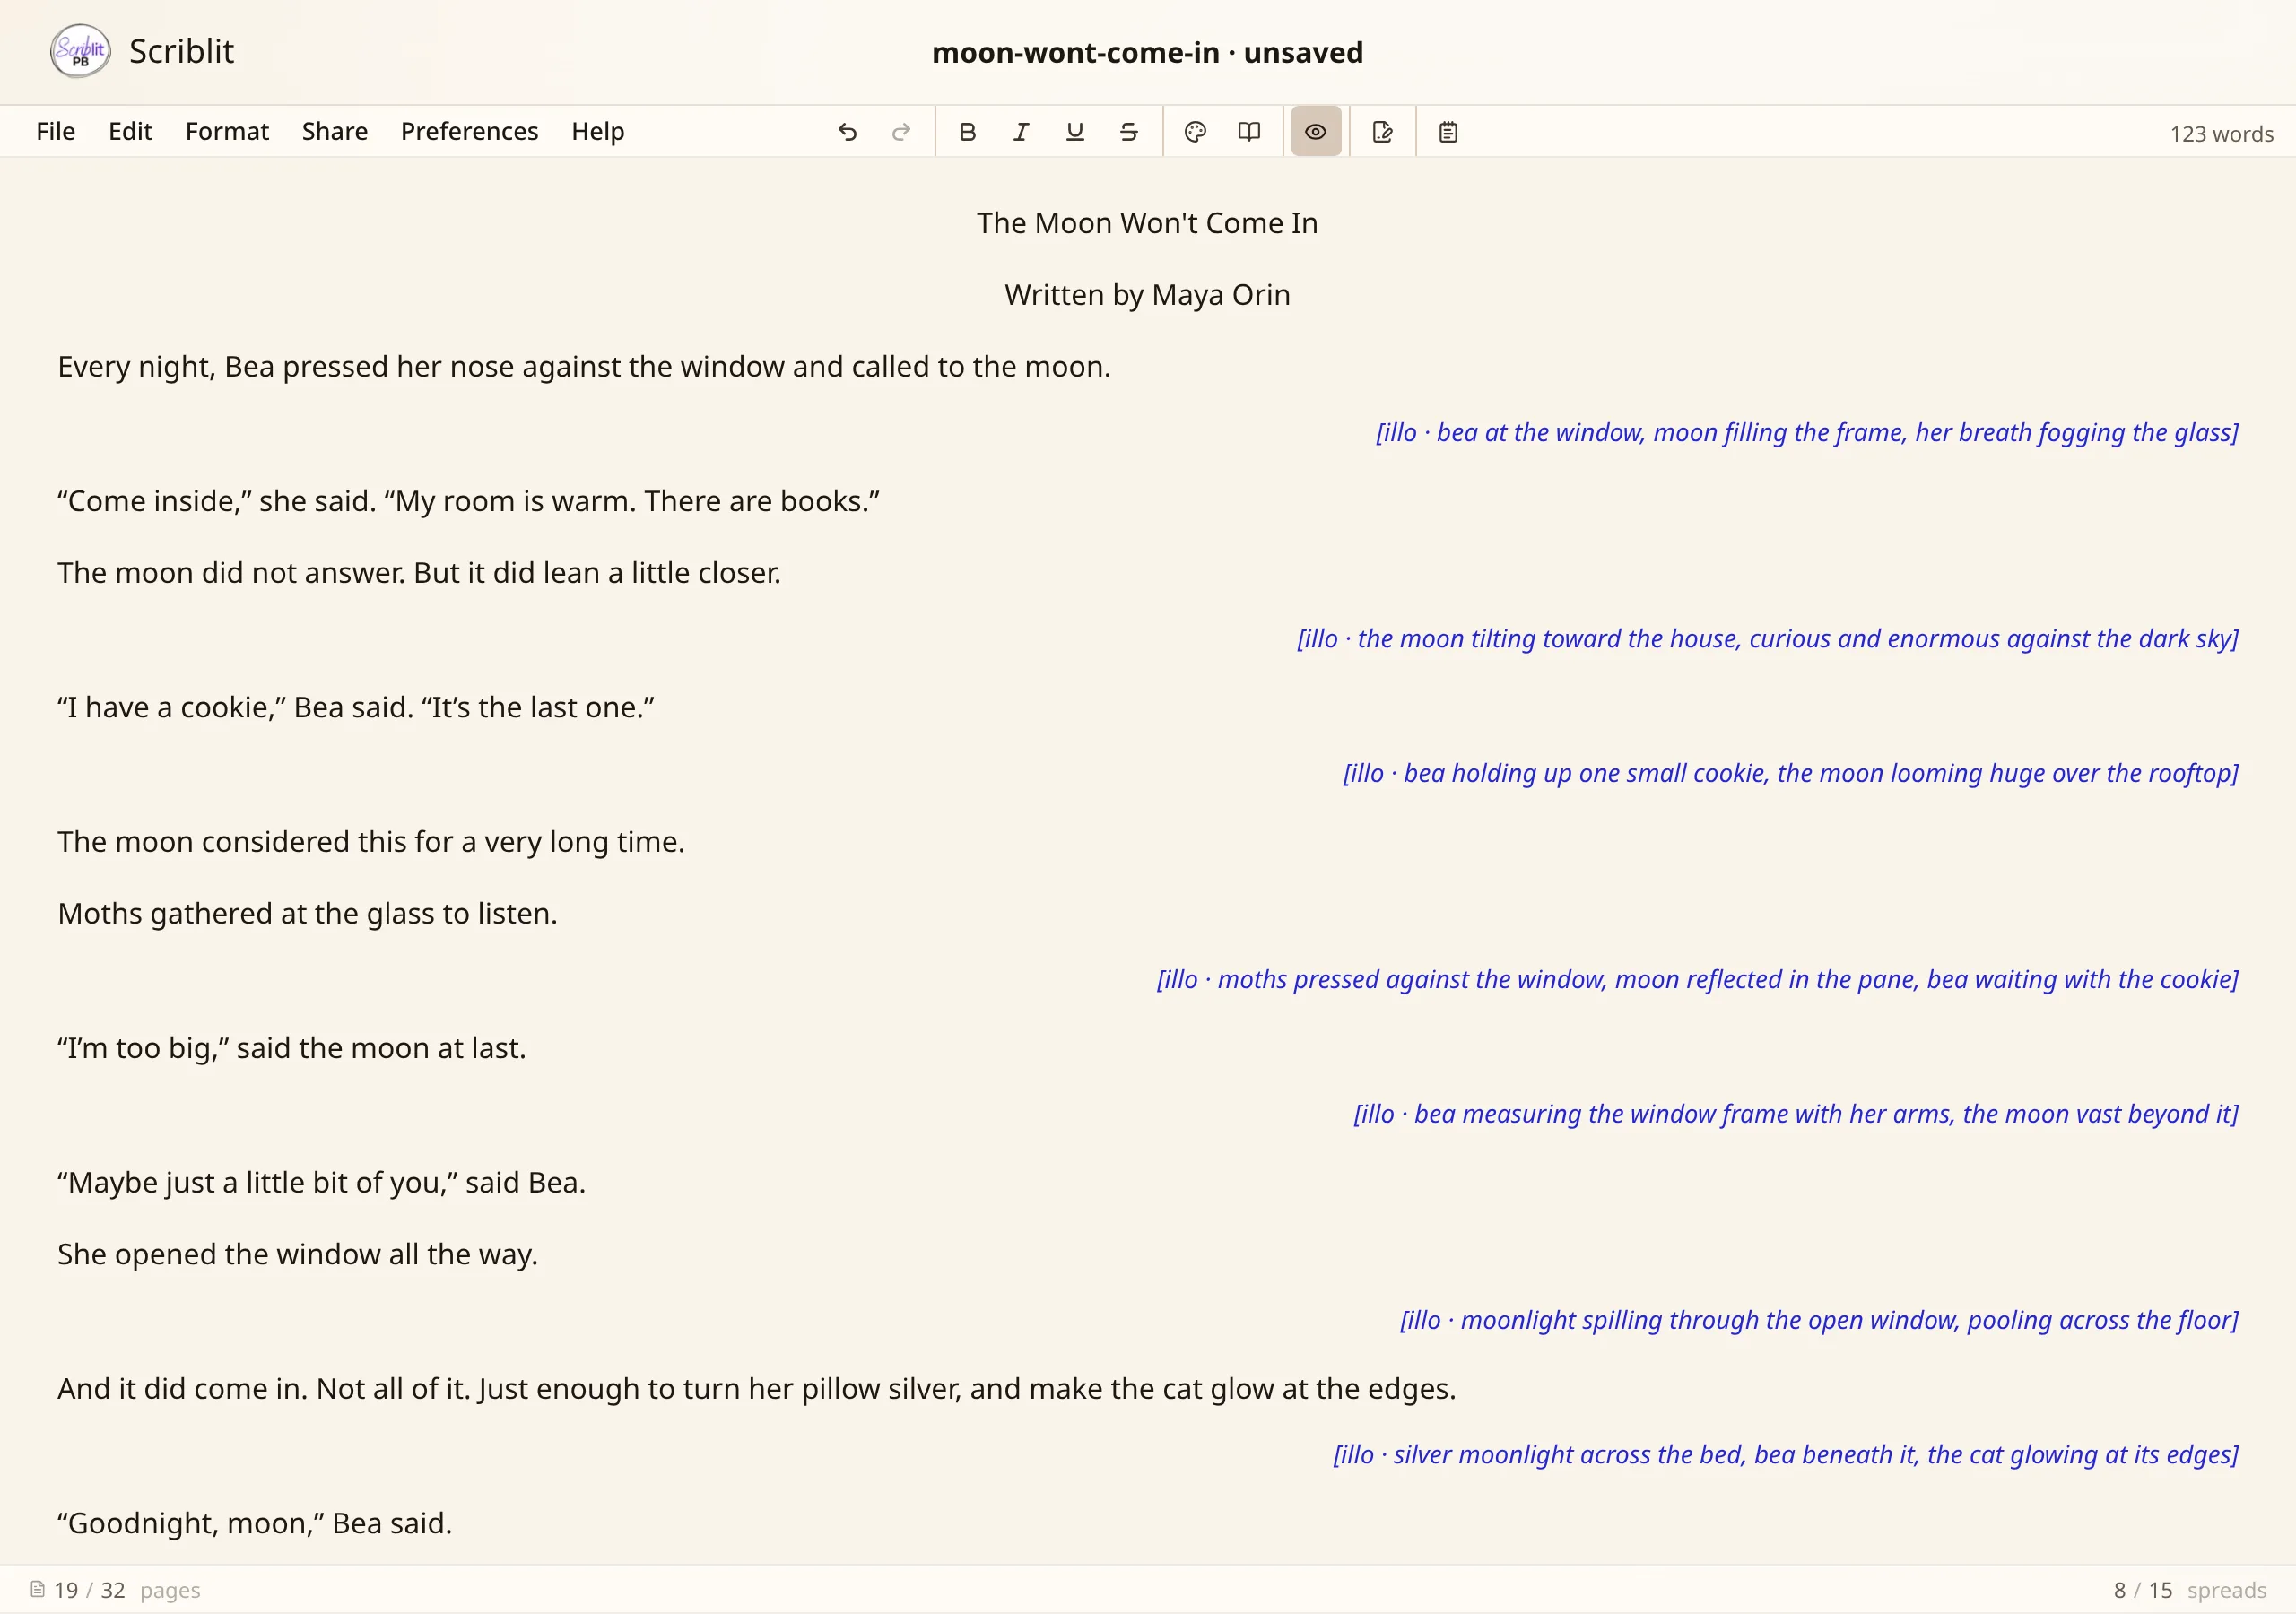
Focus Mode on the View tab hides spread dividers so you can read your story straight through. The chevron next to Focus Mode chooses between Story text only (also hides illustration notes) and Story + art notes (keeps them visible). The face of the button toggles between off and whichever view you used last.
Focus Mode views & focus export
While Focus Mode is on, any export (TXT, PDF, DOCX, or Google Doc) asks whether to export the focus copy, what you see on screen, with the title, byline, and contact header intact but no spread labels and no author-note comments; or the full manuscript. Focus copies get a (Focus) suffix on the filename or Drive title so they never overwrite a full-manuscript export.
Typewriter Mode
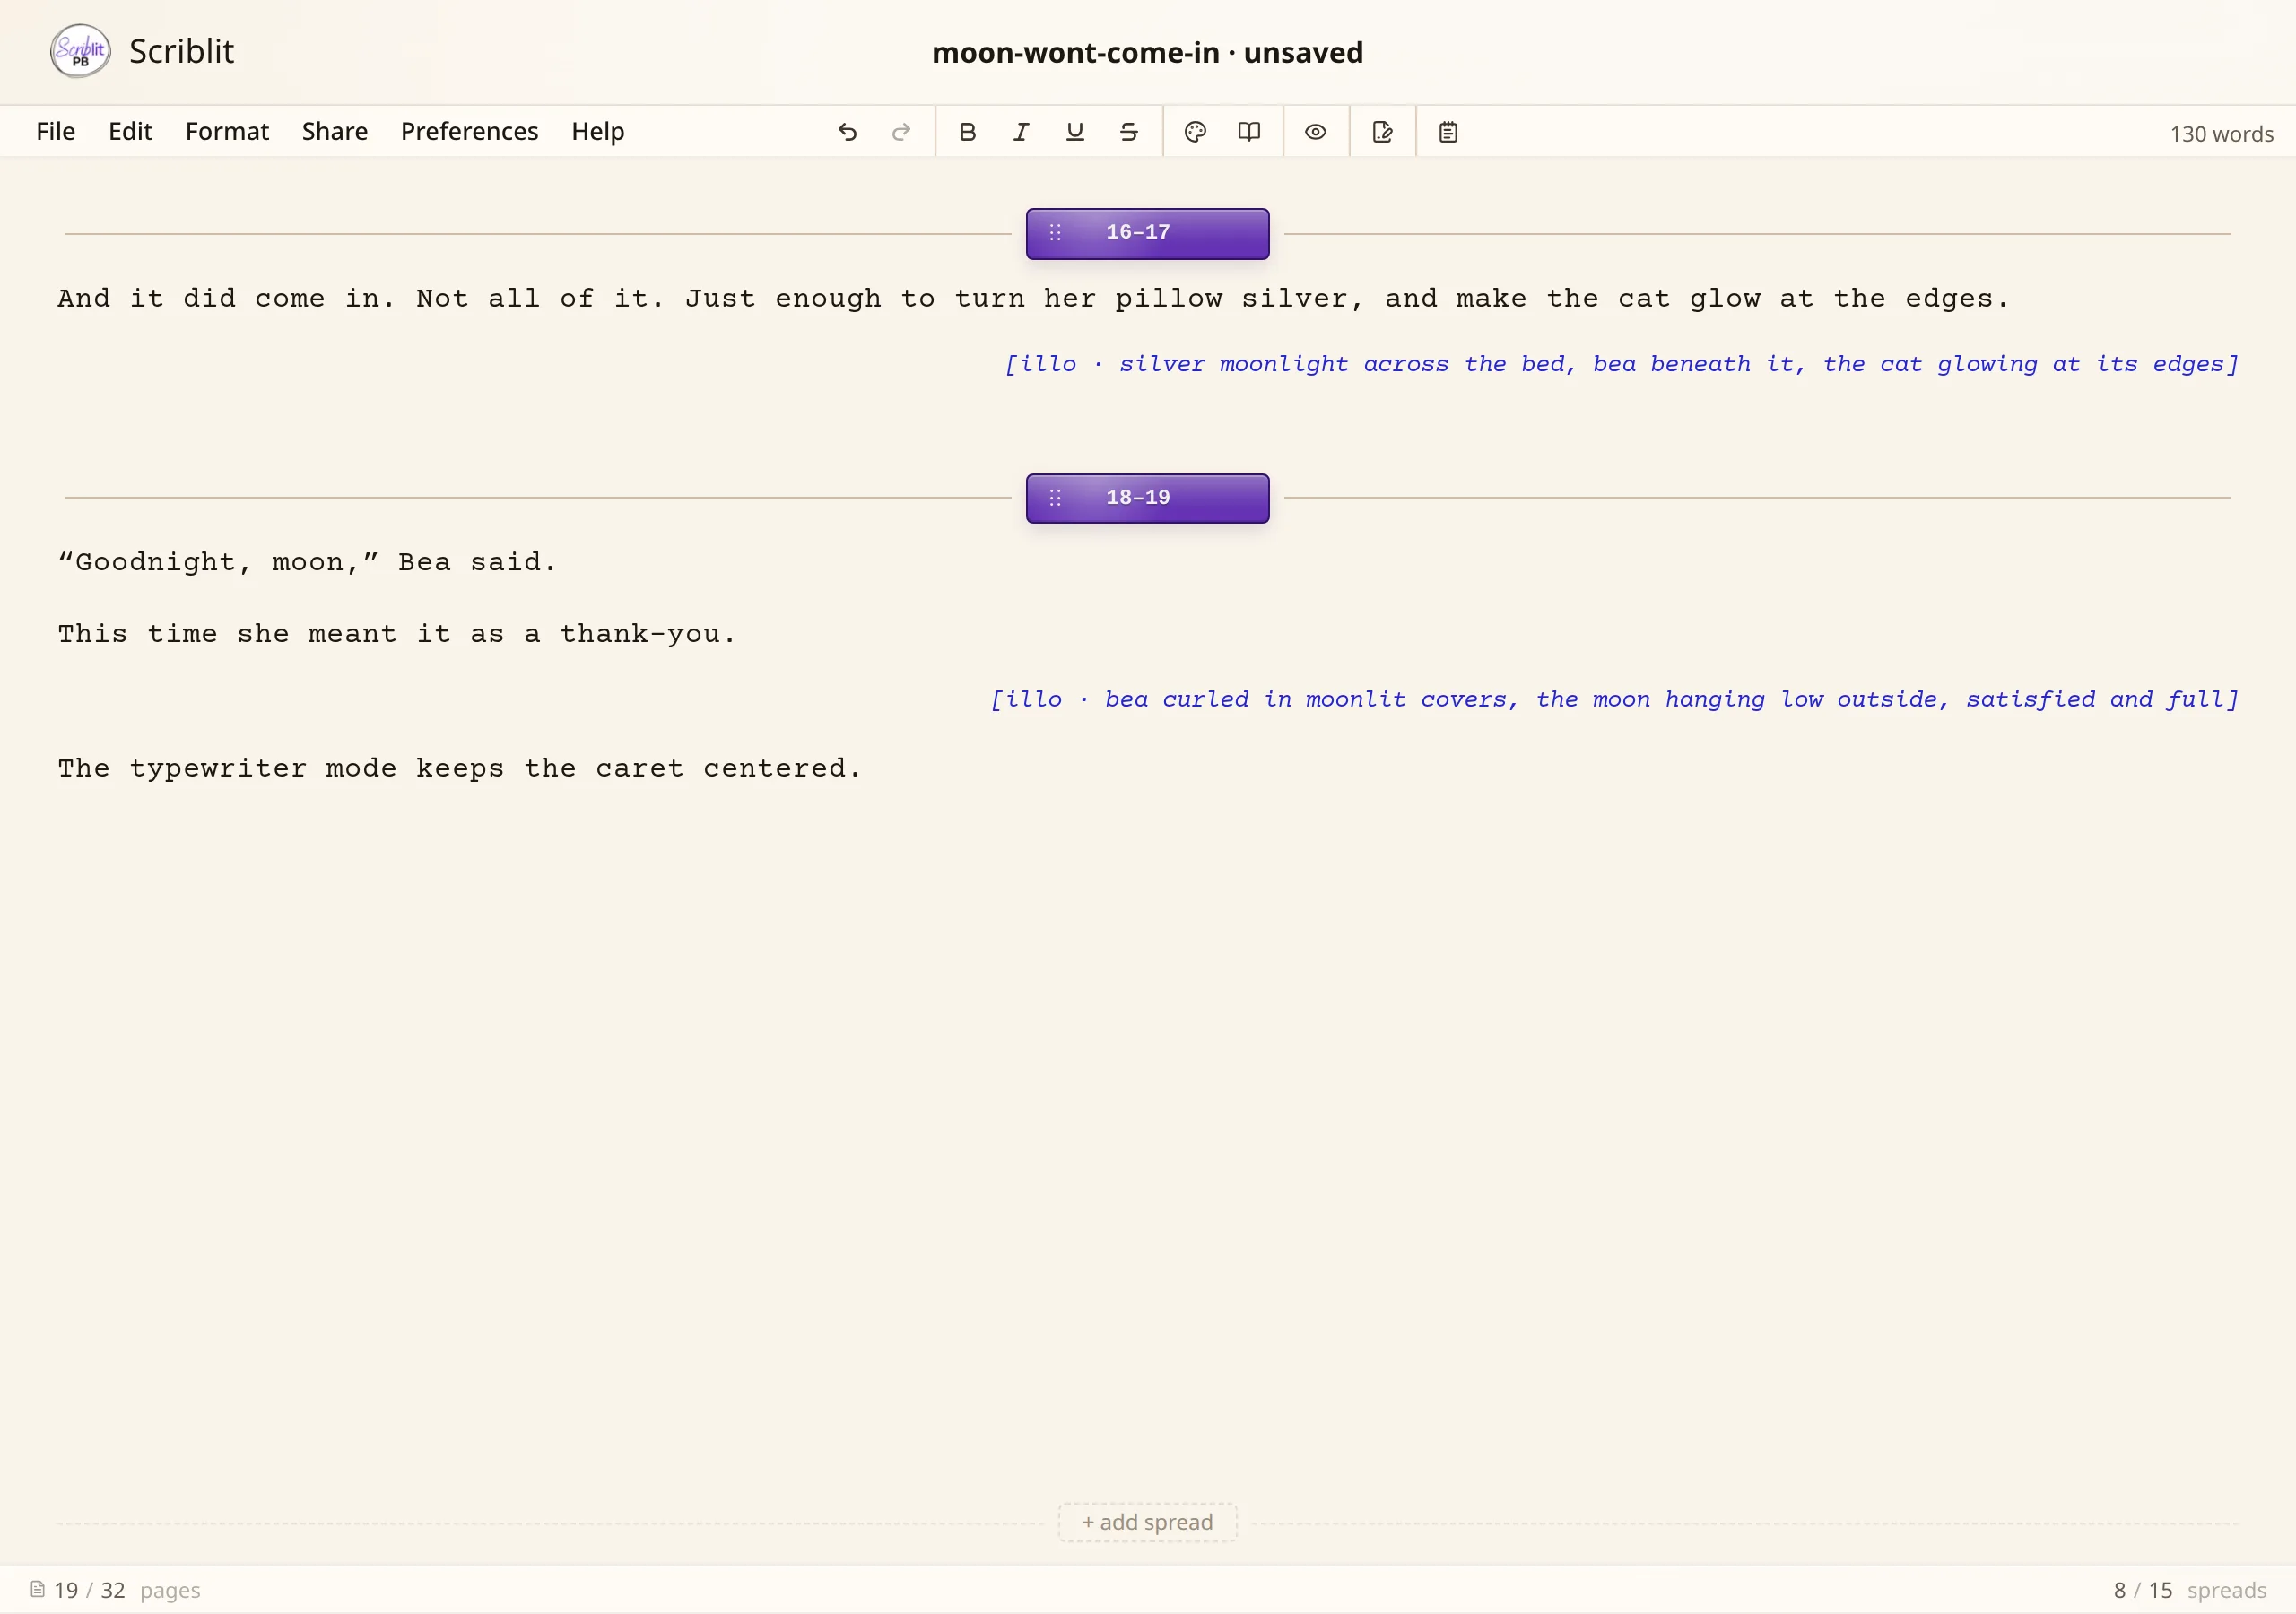
Typewriter Mode is a distraction-free writing environment designed to reduce visual noise and focus on your words. When enabled, the current line stays pinned to a fixed writing line as you type (the manuscript scrolls beneath your cursor), and you can optionally enable a monospace typewriter font and typing sound effects to evoke the experience of writing on a typewriter.
- Toggle Typewriter Mode from the View tab, from Preferences → Editor, or with Ctrl+Alt+Y (⌘+Option+Y on Mac).
- Adjust the writing line to your preference: High, Middle, or Low to change where the caret is pinned vertically.
- Choose a Typewriter font and optional typing sounds from the View tab’s Typewriter group, or in the Preferences Editor tab.
Word and page counts
- The word count on the ribbon tab row (or the toolbar in Compact) shows your live manuscript word count (illustration notes excluded). You can enable a warning threshold in Preferences; useful for staying under the typical 500 to 600 words of a modern picture book.
- The status bar shows pages used (e.g.
28 / 32 pages) and spreads used (e.g.13 / 15 spreads). - Select any passage to see a word count for just that selection.
Preferences
Open Preferences from the gear on the ribbon tab row, or from your account menu in Compact (including on a small screen). The dialog gathers your settings into Document, Editor, Export, and Offline & Storage tabs. Author Info is a dedicated dialog on the Submission ribbon, not a Preferences tab.
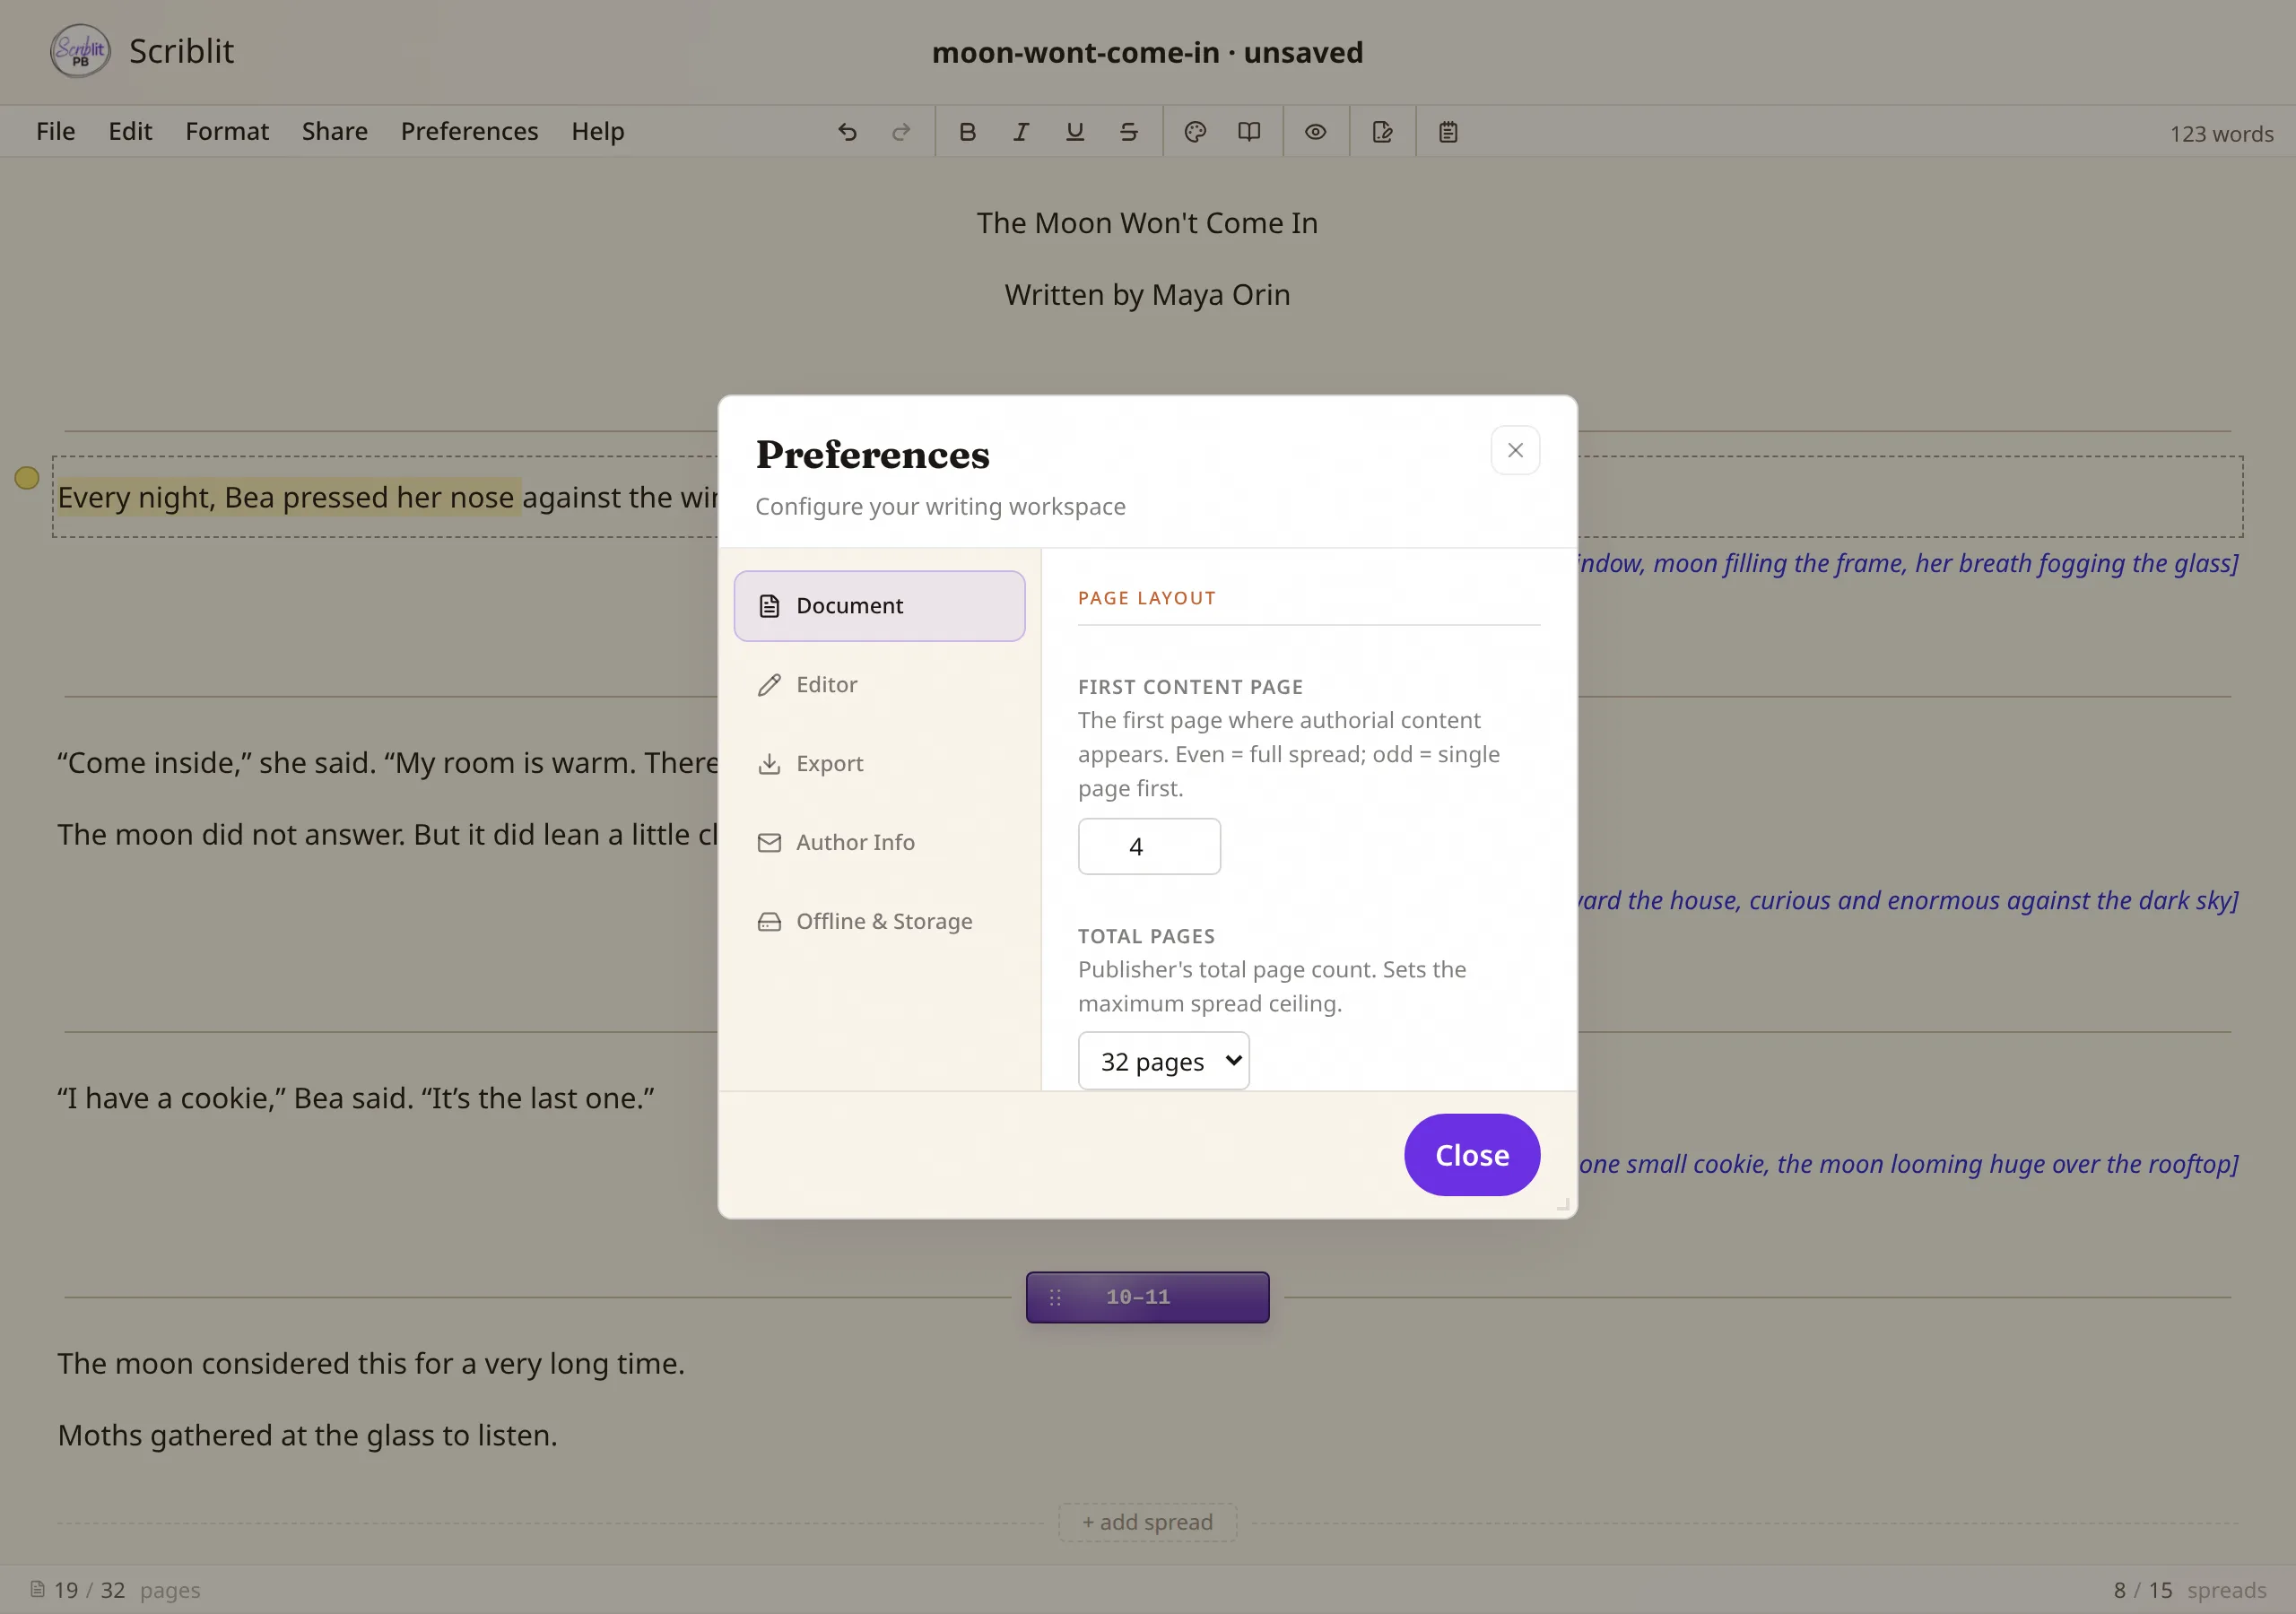
See Preferences for a tab-by-tab walkthrough of every setting, including the newer paper shade, spread divider color, pitch, backmatter, page-count header, and recovery options.